Sunday, March 17, 2013

No Boys Allowed

Except Dads, brothers, Cousins, Uncles and Grandpas of course.

Hayden turned 4 and we had a FUN girly birthday bash for her. It was awesome!!!

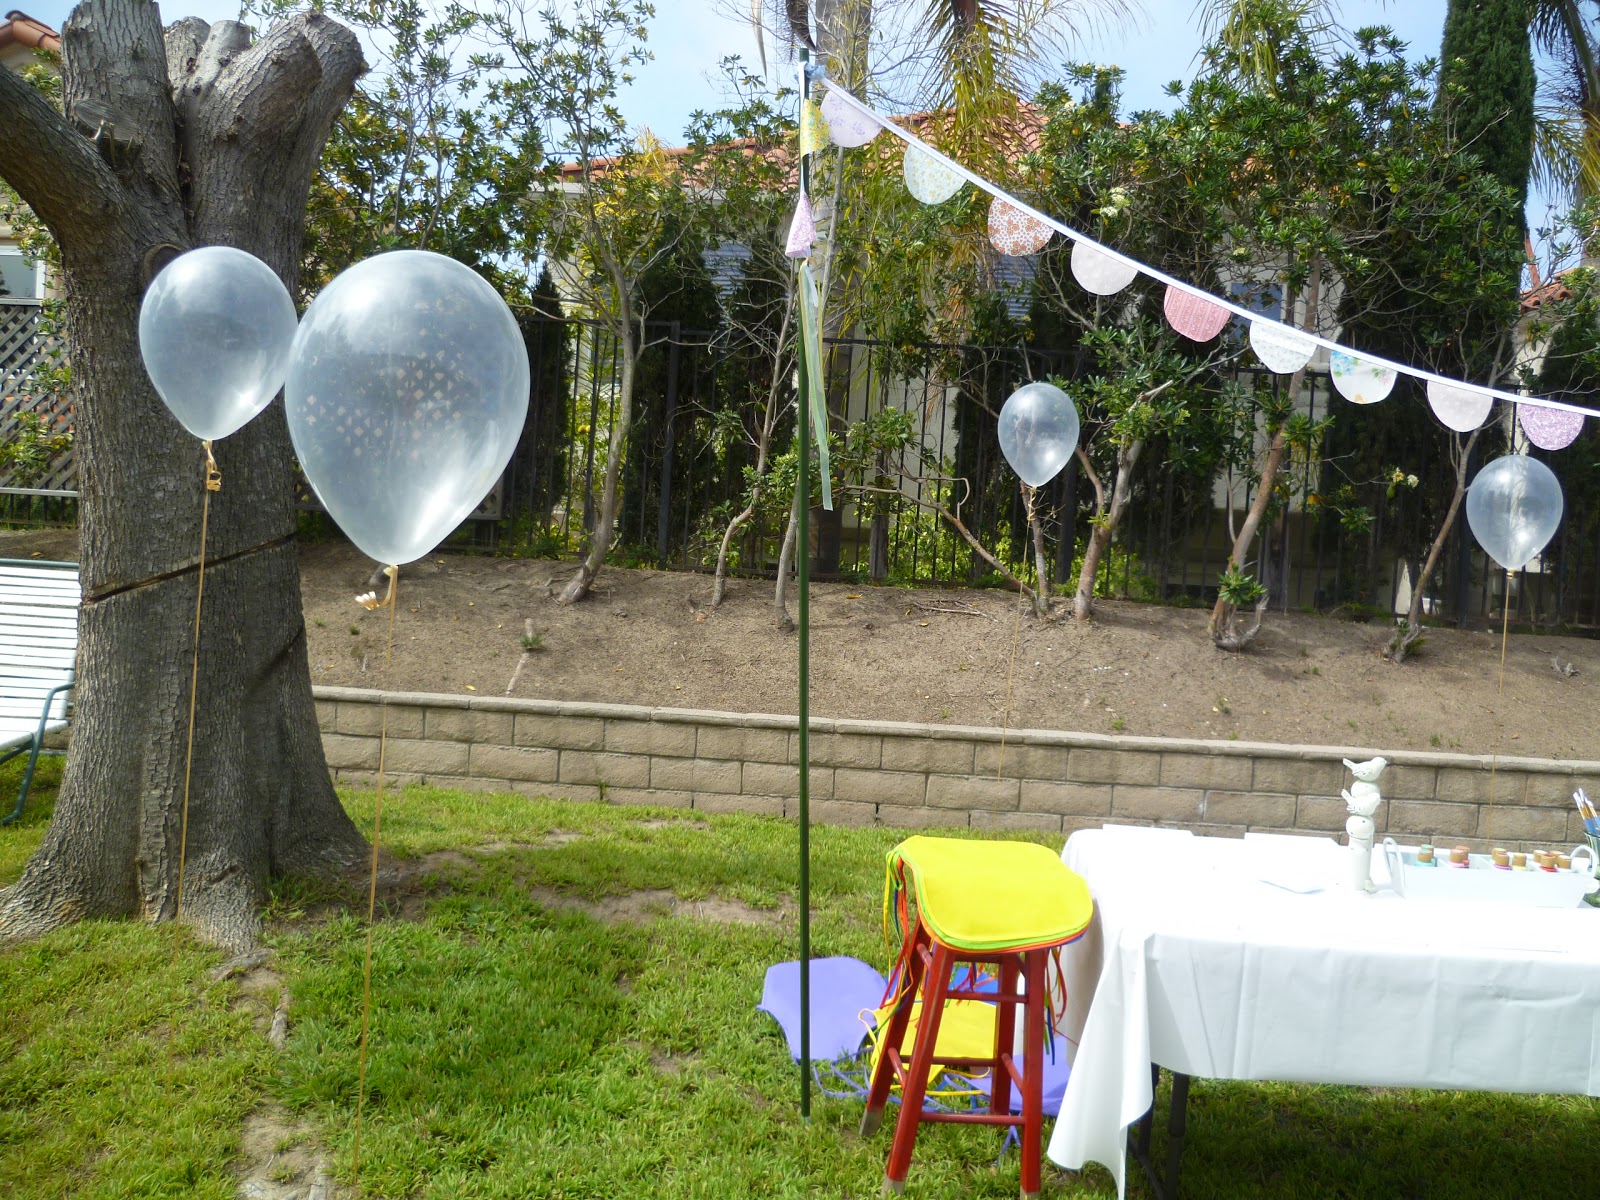
My sweet Hayden wanted an Ariel party. We got the Ariel invitations, I ordered the under the sea bouncy house, I put out some shells and starfish. And, that's where the "Ariel" theme ended and my vintage garden party began. See, a couple months ago, I made these cute buntings with Hayden's party in mind. Mismatching vintage fabrics :)
As you can see, they don't exactly fit in with her "under the sea" theme. Well, since she is only turning 4, I figured this would be the last time I have the ability to (steamroll) influence my sweet girl and I took full advantage. While she got her mermaid invitations, shells, and bouncy house, I got my garden party too :) Win win.

Here are some pics for ya!
(balloon cake topper idea courtesy of the one and only Martha Stewart)
Special thanks to my sister for pulling off the balloon cake topper at the last minute as I was frazzled and trying to get everything ready. lol. U rock sis!

I set up a painting table for the girls since Hayden is VERY into art right now.
 
Along with the vintagey bunting (hung using tree stakes from the garden center at Lowes), I used golf tees and stuck clear balloons (bubbles) in the grass around the craft table (thank you pinterest). See, the girls are painting (my) garden party paintings "under the sea" Lol.
 
They had SO much fun making their masterpieces :)

I ordered the cute aprons from Oriental Trading Company, along with the paint pallets, and then got the canvases and brushes at Michael's (with many trips and many coupons - lol).


After painting, it was time for some bouncing :)


Giggles, squeals of laughter, and a few tears from time to time. Bouncy house perfection if you ask me :)

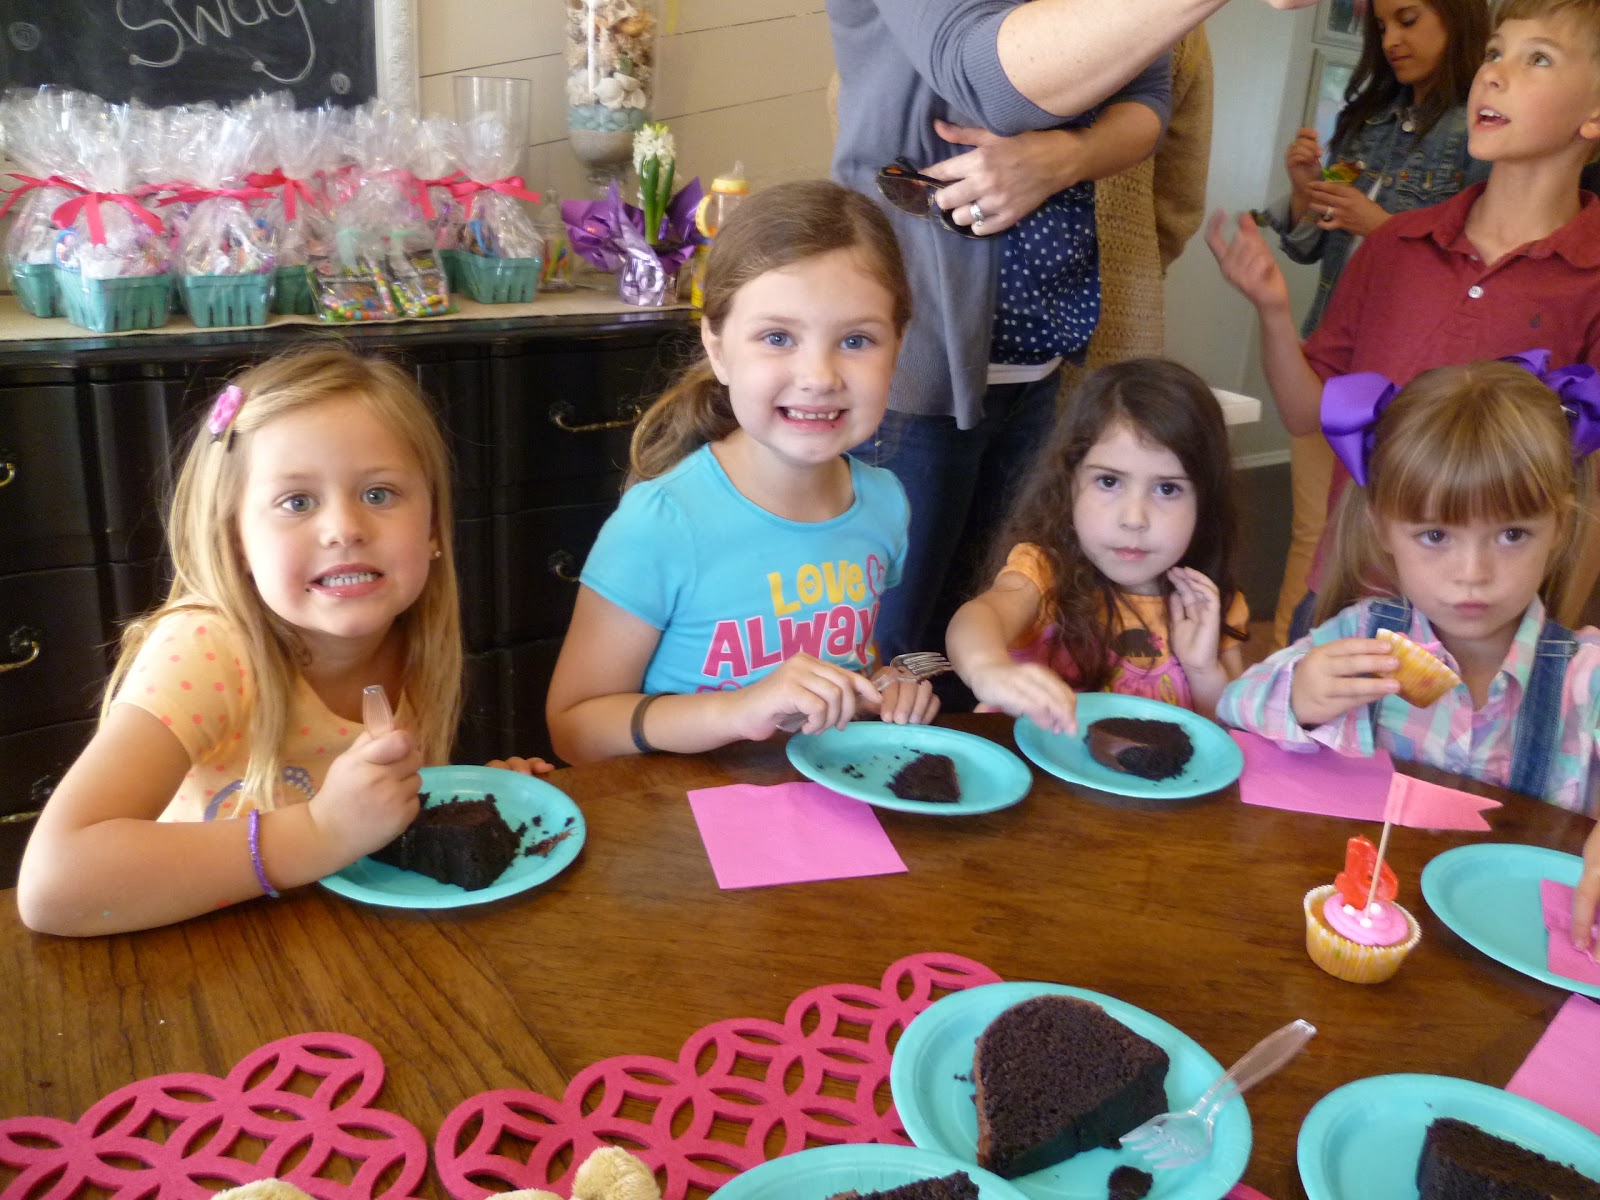
After bouncing - dessert!


And last but not least, gifts. She got some seriously cute stuff! It was so fun to watch the kids crowd around her with excitement as she opened each one :)

Each girl left with a swag basket filled with girly goodies (necklace, shades, lip gloss, hair ties, a wand, candy etc). I got the super cute berry baskets on Etsy here.

handmade hair ties made by yours truly...

She woke up this morning and was so happy to open all her new stuff and has been playing with it non stop. She is super excited to now have an American Girl Bitty Baby from one of her very special besties. She named her Lala :)
Such a lucky lucky girl!

Happy #4 baby girl. I love you the super duper mostest! XOXO
Happy St.Patty's everyone!

Tuesday, March 5, 2013

Glass, we don't need no stinkin' glass

Hellloooooooo there everyone! How are ya? All is well here. Today is my sweet hubby's b-day and we are heading out for a celebratory sushi dinner tonight - yum! Ok, well, I eat like a 5 year old and don't really love sushi, but I never met a terriyaki chicken I didn't like.

Moving on. I wanted to show you a recent project I did. I gave you a teaser of it in my last post, but I wanted to go into further detail for you. Remember when I showed you these?


My super talented friend is Kelly of Bubba-loo photography based down in Carlsbad CA. She took these amazing pictures of the kids back in December and I finally had some big ones printed. I ended up ordering really great quality, well priced prints from a printer that she works with. The prints have a linen like texture and are so super clear. They look great! Our living room gets tons of natural light, which I love. What I don't love, is looking at a framed photo and seeing all the light reflecting off the glass. These prints were so crisp and clear, I really wanted to frame them without glass. Now, if you just frame a large print in a frame without glass, it will start to sag over time. So, I knew I needed to mount the large prints on foam board to make them firm. Enough rambling, here are some pics.

Basic foam board from Michael's...


Photo spray mount...
Basically, all I did was cut the foam board to size with a razor. Then I sprayed the mounting glue on the foam board and let it sit for 2 minutes to get tacky. My hubby helped me smooth the print on the board with a straight edge (we just used a scrap of the foam board) because I was nervous that I would trap air bubbles and get reaaaaallllly mad. He is way more precise and patient than I am when it comes down to it.
Before placing the foam mounted print in the frame, I sprayed the backside of my frame with the spray mount. Then I carefully put the print in the frame being extra careful not to get any of the sticky stuff on my pretty print.
After I placed the foam mounted print into the frame, I added some light foam (the pieces I used just happened to come with my prints) to bridge the gap between the foam board print and the backer paper. You could also use bubble wrap, tissue paper, or anything like that.


Once everything was in place, I finished it off with some kraft wrapping paper that I had on hand. I just cut it to size and pressed it down on the now sticky back of the frame.
Once that was dry and secure, I added a sawtooth hanger to the top center and it was ready for hanging.

The frames from Michael's. Simple white distressed "driftwood" style frames (on 50% off sale of course).

See all that sun beaming in and.....no pesky reflection. Lol. I'm easy to please :)

Oh - and this cute little block printed card came from a friend of mine this Summer at The Sawdust Festival. She is really talented and I just love this card. I hand sewed it on to some vintage fabric and put it in a vintage frame. Easy :)


This wall makes me sooooo happy :)

That's all. Radom-ish but I thought it was worth sharing.
Happy day to you! Bye!


Friday, March 1, 2013

TOO many "galleries" goin' on

Happy happy HaPpY FRIDAY everyone :) Can you tell I'm happy for the weekend. We are having BEAUTIFUL weather here in SoCal (like upper 70's by the beach). Tonight we are going on a double family dinner date with some friends and then tomorrow morning Noah's baseball team will be marching in the Festival of Whales parade. FUN! It should be a great weekend :)

Moving on...
Confession: I, like many other diy'ers, have home decor ADD. It's extreme. Lately, I have been craving a clean, clutter free space in my house. A retreat, if you will. Well, semi-recently, I have also hung everything I own on my walls. No joke. Like, serious gallery overload. Take a look.....


You can see in the above pic the ledge shelves "gallery" on the left, the new large prints of the kids straight ahead, and the gallery between the kid's rooms in the hall. I also have one over my desk as well as in Hayden's room. Just TOO many. The thing that tipped me over the edge was when I hung up these new prints of the kids (more on those in another post)

These are from our Xmas card photo shoot and I love love love the way they turned out. Anyway, too many galleries in my world. MUST simplify (ish). Lol.

My husband is in the process of semi-overhauling the garage (adding outlets and drywall) and he found this GIANT cork board in our rafters (this house once belonged to my grandparents, and after them, my mom). Anyway, it was a free score for me :)
It's long and skinny, and perfect for the space between the kid's rooms. I didn't take pictures of the process (not so great at tutorials) but I can tell you how to make over a office style cork board very easily.

Step1: pick out your fabric and cut it so it can wrap around the frame onto the back of the board.
Step 2. Use spray glue and cover the entire board (frame and all).
Step 3: Let glue sit for 2 minutes (or whatever your particular brand specifies) so the glue can get tacky.
Step 4: Lay the fabric over the board and smooth out with a straight edge to get the air bubbles out. If you get an air pocket, simply lift that area up gently and smooth over it with your straight edge (I used a wide long ruler). Make sure you get a crisp line on the inner edge of the frame (just run your finger nail along the inner edge).
Step 5: Let that sit over night.
Step 6: flip the board over and wrap the fabric over the back edge like a package and glue it down. For mine, I sprayed along the back edge of the frame and pulled the fabric tight.
Step 6: Let that dry.

I wanted the "nail head trim" look to mine, so I purchased gold thumb tacks from the dollar tree. $1 for 300 tacks - can't beat that! I used a ruler and spaced them out one inch apart all the way around the board on the inside of the framed edge. Easy!

Ready to see her!?
Close-up of the "nail heads"
 
Closer-up.
 
Keepin' it real....here's one area where the fabric bunched and I couldn't smooth it out before the glue got too dry...
 
 
Not anything a carefully placed piece of kid art can't hide though...


This board will now be the home to all of the kid artsy crafty crap. I think having it contained on one board will help it not look so "junky" if you know what I mean. Prior to adding this board, this is what we had goin' on....
 
UGH.
 
Hopefully this beauty will help contain the clutter and help us achieve that "retreat" feel throughout our home. Ok, who am I kidding. It's just a cork board for cryin' out loud. Haha!
 
 
Happy weekend! I hope you have a great one :)